The first thing you should do is to open this entire project folder in AtoM, and to open the file called README.md. After you follow those instructions, return here both in your browser and in AtoM (you can find the file in the _posts folder).
Below is a brief reminder of the Markdown syntax, from one of the GitHub guides.
Headers:
Heading 1
Heading 2
Heading 3
Heading 4
Emphasis:
This text will be italic This will also be italic This text will be bold This will also be bold You can combine them
Block quotations
Below is a block quotation:
Muchos años después, frente al pelotón de fusilamiento, el coronel Aureliano Buendía había de recordar aquella tarde remota en que su padre lo llevó a conocer el hielo.
Lists
Unordered:
- Item 1
- Item 2
- Item 2a
- Item 2b
Ordered:
- Item 1
- Item 2
- Item 3
- Item 3a
- Item 3b
Images:
 (The bit between the square brackets becomes the “Alt Text”, or the text that appears when you hover over an image. Notice how the image source [the bit in square brackets] can reference a folder in your project or any image on the internet.)
Links
GitHub <- You put the text of the link in the square brackets, and the URL in parentheses.
Backslash escapes
If you would like to display a character that would otherwise be interpreted by Markdown to indicate formatting, you can prefase it with a backslash \, e.g. *literal asterisks*
Tables
You can create tables by assembling a list of words and dividing them with hyphens - (for the first row), and then separating each column with a pipe | :
| First Header | Second Header | Third Header |
|---|---|---|
| Content cell 1 | Content cell 2 | Content cell 3 |
| Content cell 4 | Content cell 5 | Content cell 6 |
These are most of the formatting options built into Jekyll, but you might want to do more specialised things. For instance, you might want to insert a picture aligned to one side of the page. Or you might like to insert a map from Mapbox. For this you will need to use HTML. We will cover this in greater detail later on. For now, here is an excellent guide to HTML.
For now, here is a Mapbox map in a thing called an iframe:
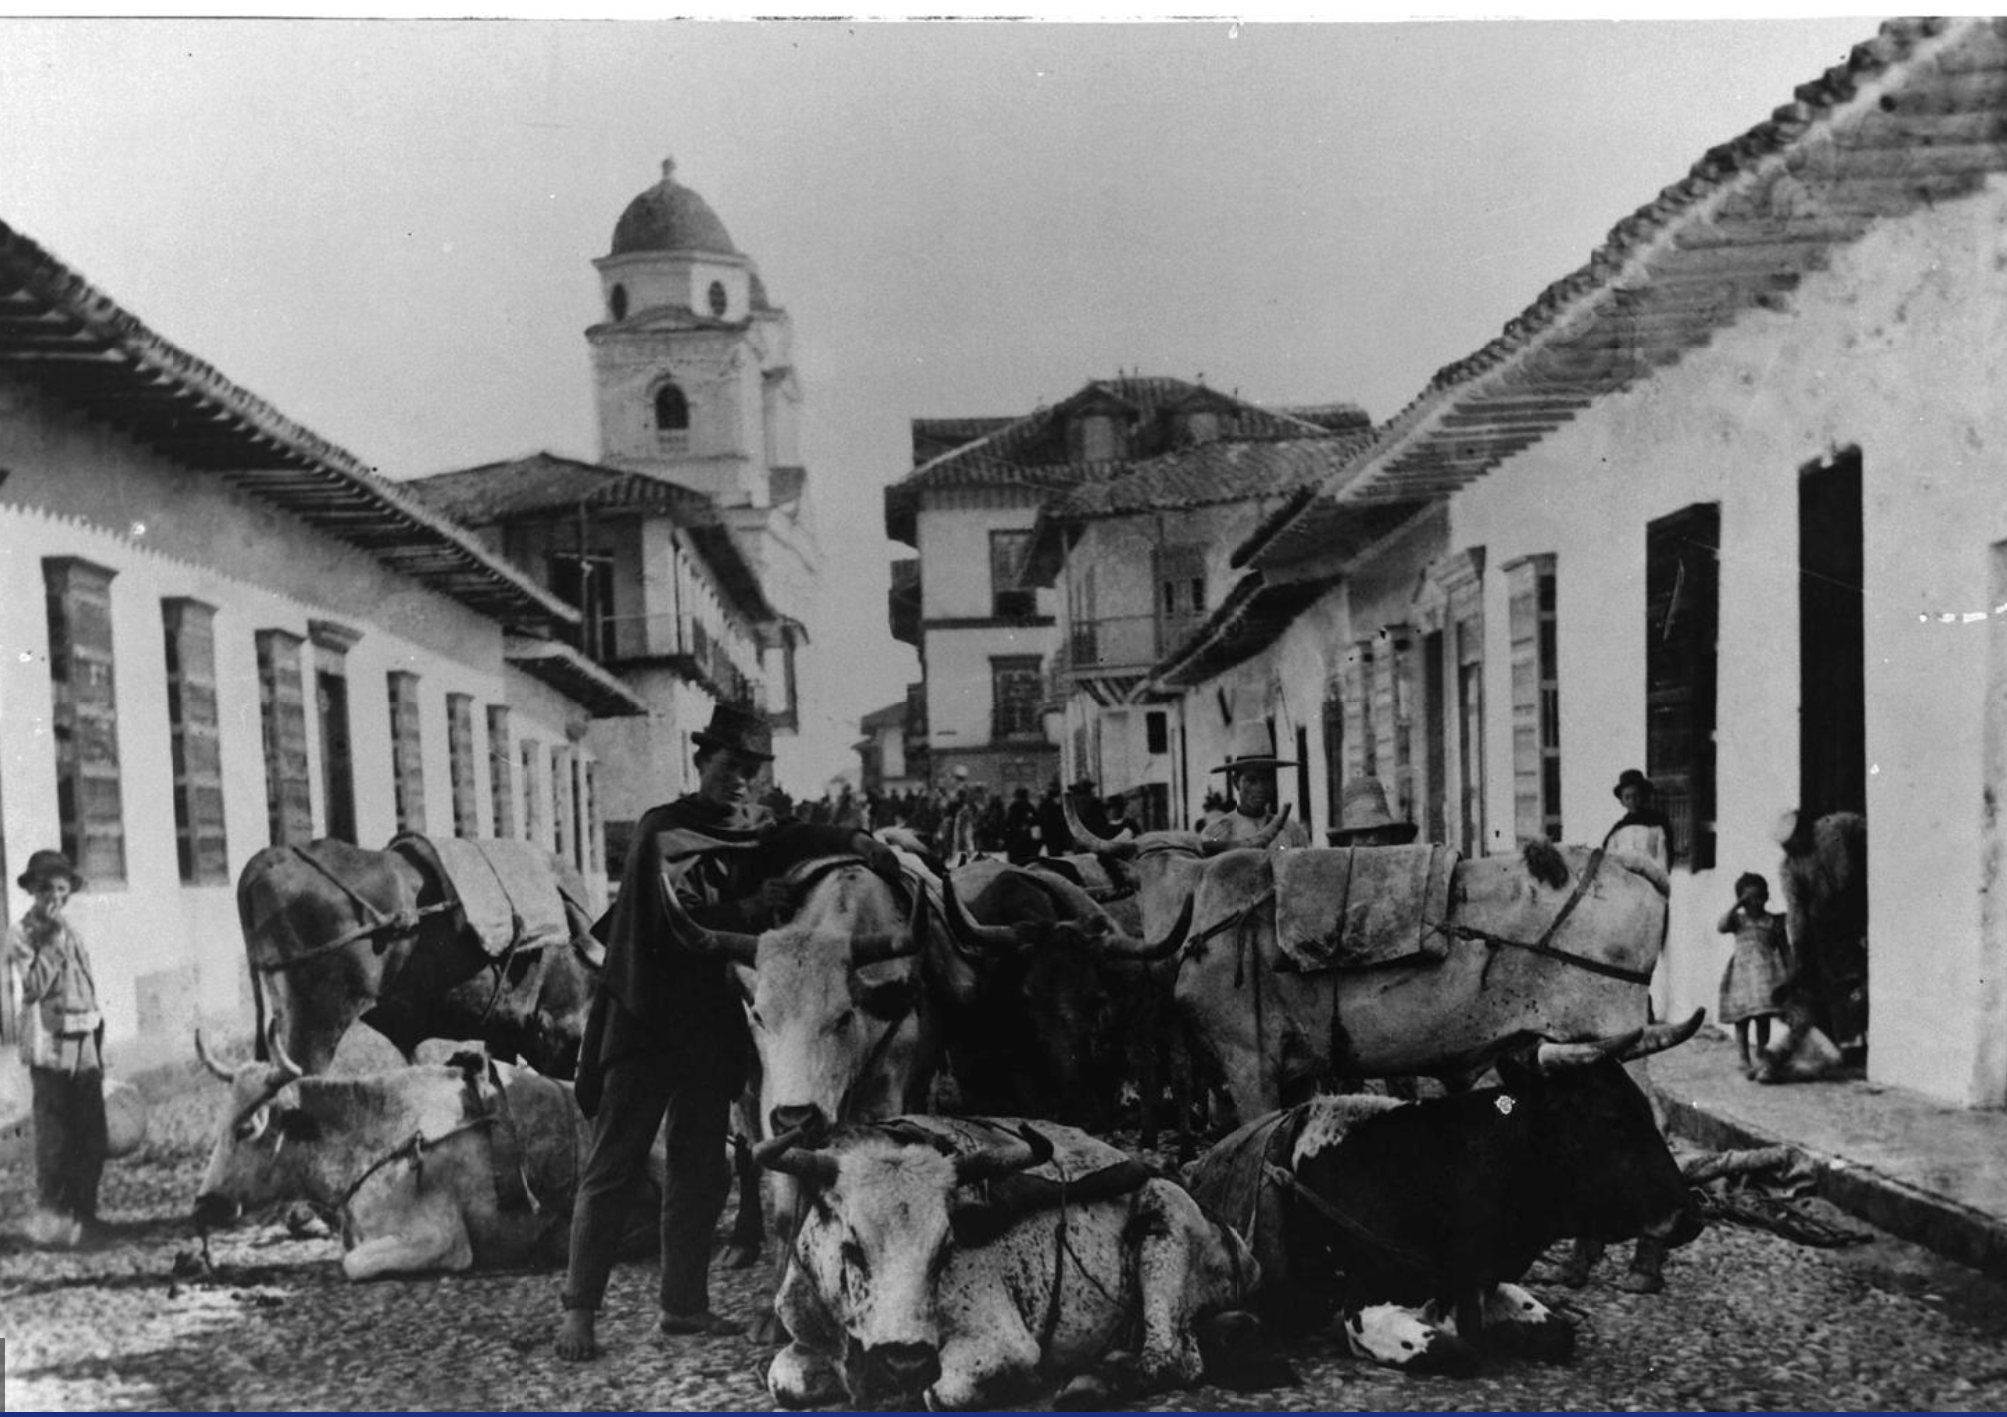
And an image, for which I’ve specified parameters to determine how it should appear:
Another useful bit of HTML is <br> for a line break.
Notice how the above is in a code block outlined by a grave accent ( ` ). That tells Markdown not to interpret it, but to display it exactly as you’ve typed it. You can also enclose entire lines by placing three accent marks (```) above and below the lines in question.
For instance, if I wanted the page to display the code for the iframe above rather than render it, I would do this:
<iframe src="https://api.mapbox.com/styles/v1/juancobo/cjs11m0to0avh1fqj3r9nhjg8.html?fresh=true&title=true&access_token=pk.eyJ1IjoianVhbmNvYm8iLCJhIjoibUZtUDNvVSJ9.LbmhhDxGc4BTb7G2JpKlZA#9.9/5.421206/-73.382440/0" width="100%" height ="500px" frameborder="0"></iframe>
Or this:
<iframe src="https://api.mapbox.com/styles/v1/juancobo/cjs11m0to0avh1fqj3r9nhjg8.html?fresh=true&title=true&access_token=pk.eyJ1IjoianVhbmNvYm8iLCJhIjoibUZtUDNvVSJ9.LbmhhDxGc4BTb7G2JpKlZA#9.9/5.421206/-73.382440/0" width="100%" height ="500px" frameborder="0"></iframe>